 Snap a photo image using Google Chrome or Microsoft Edge
To snap a image using an USB camera, use the following steps:
- Do one of the following:
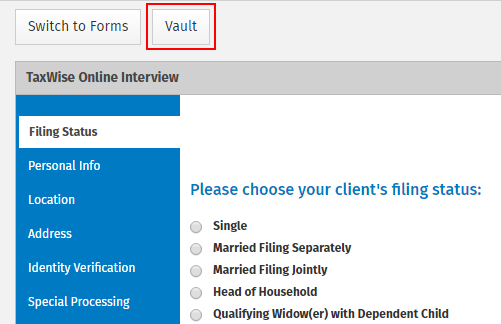
- Inside a return, click the Vault button
 located in the Loaded Forms.
 - Inside an interview, click the Vault button.
- Click Photo.
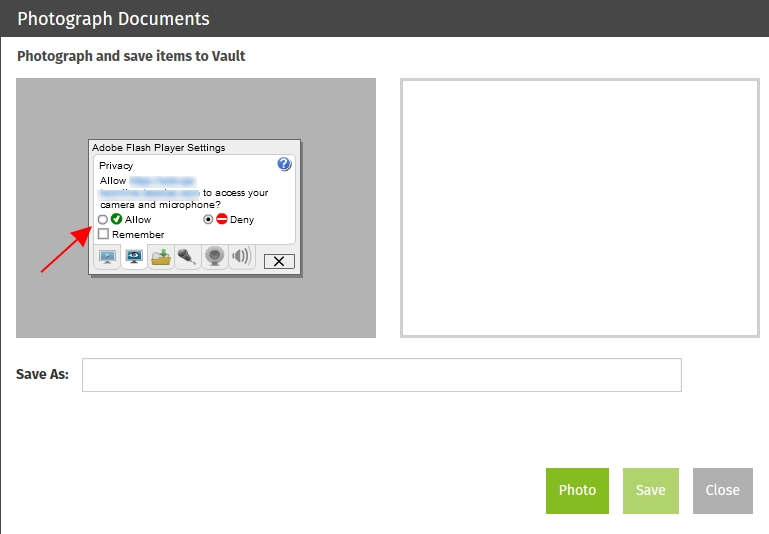
- Select your camera from the Set Camera Preference list. If prompted, click Allow to allow TaxWise Online access to your camera.
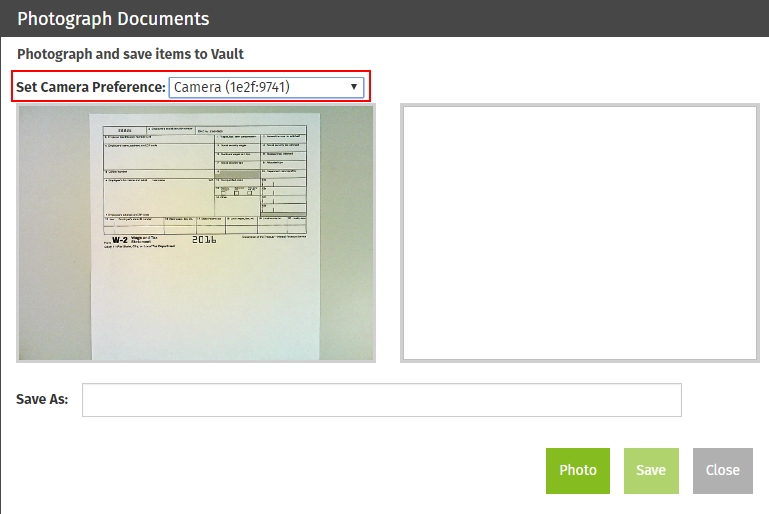
- Make sure the document is placed so the camera can take a picture to store.
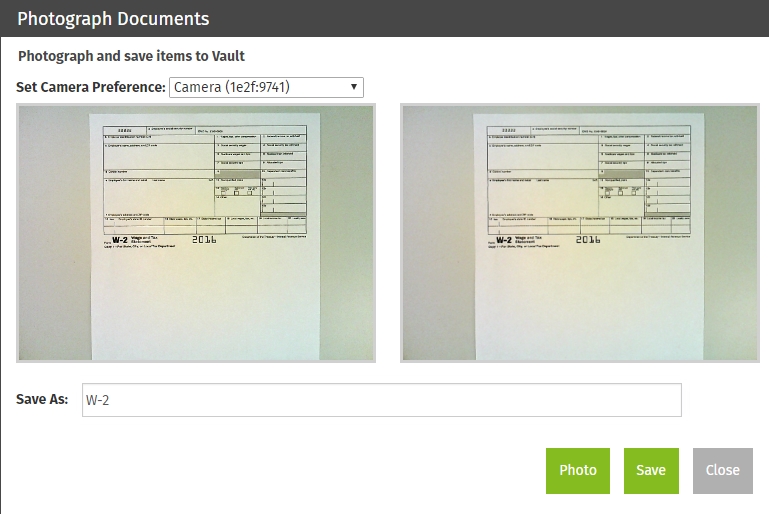
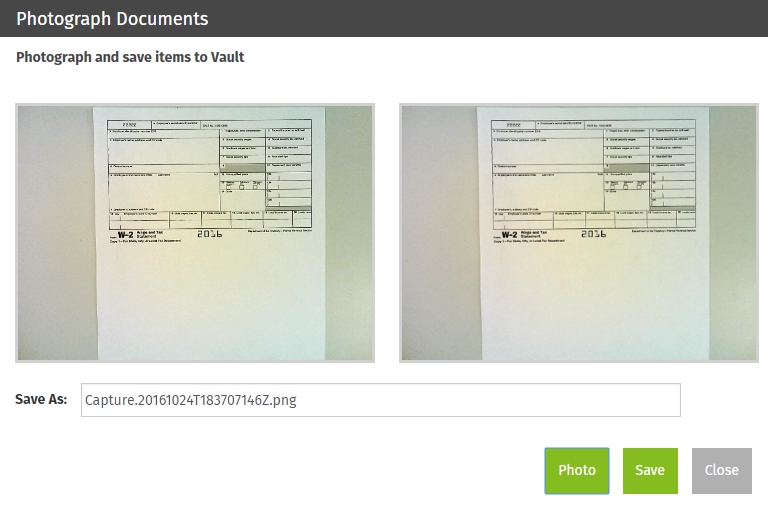
- Click Photo. The live image is on the left and the photo is on the right.
If necessary, you can move the document beneath the camera around for better placement and click the Photo button. Don't continue to step 6 before you have an acceptable image.

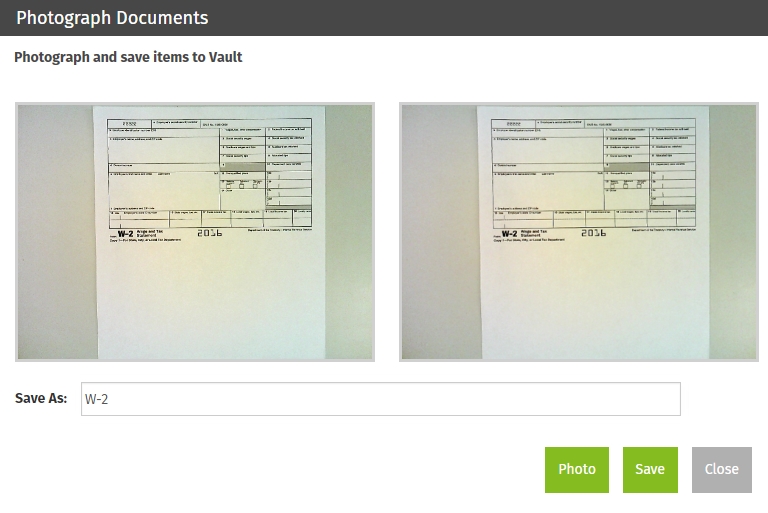
- The file name by default will be a time and date stamp, but you can highlight the default name and enter your own file name.
- Click Save.
- Click OK on the save confirmation.
- Take any additional photos or click Close to exit the Photograph Documents dialog.
- Click Close to exit the Vault dialog.
The image(s) will be displayed in the Loaded Forms of the tax return. If you click on the file in the Loaded Forms, it will open in a new browser window.
If the import was performed in the Interview Wizard, you must click the Switch to Forms button to see the files in the Loaded Forms.

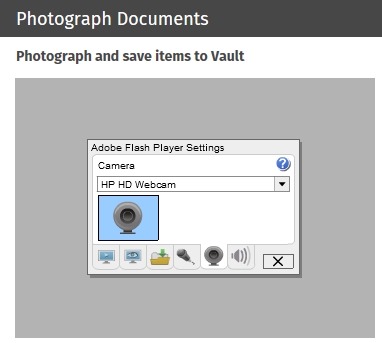
 and select the camera you want to use from the list.
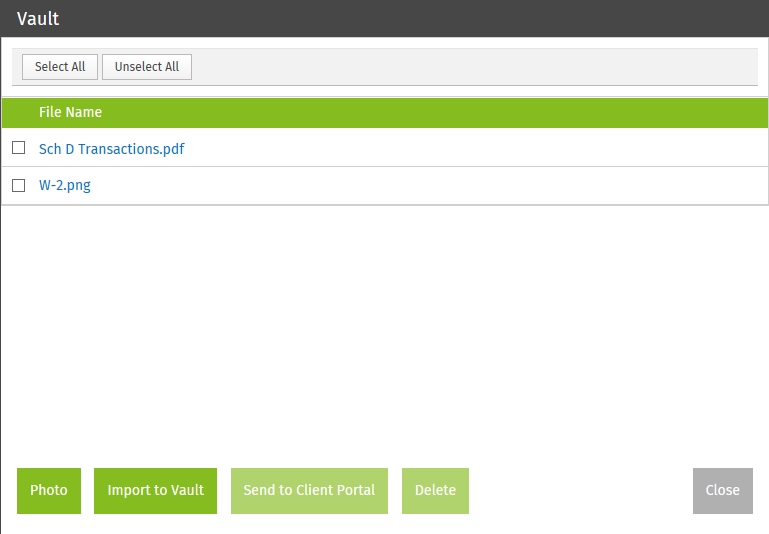
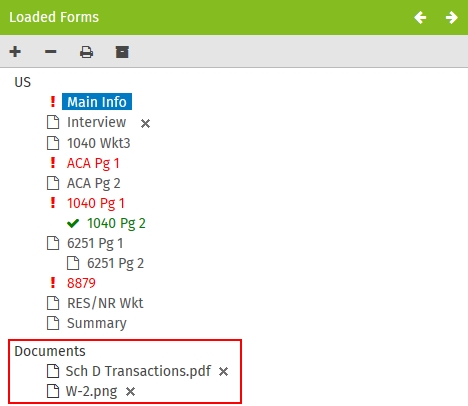
 located at the end of the file name in the Loaded Forms or you can use the following steps to delete multiple files at once.